How to Create Logo in Adobe Illustrator
Below are the steps to create a simple logo in Adobe Illustrator.
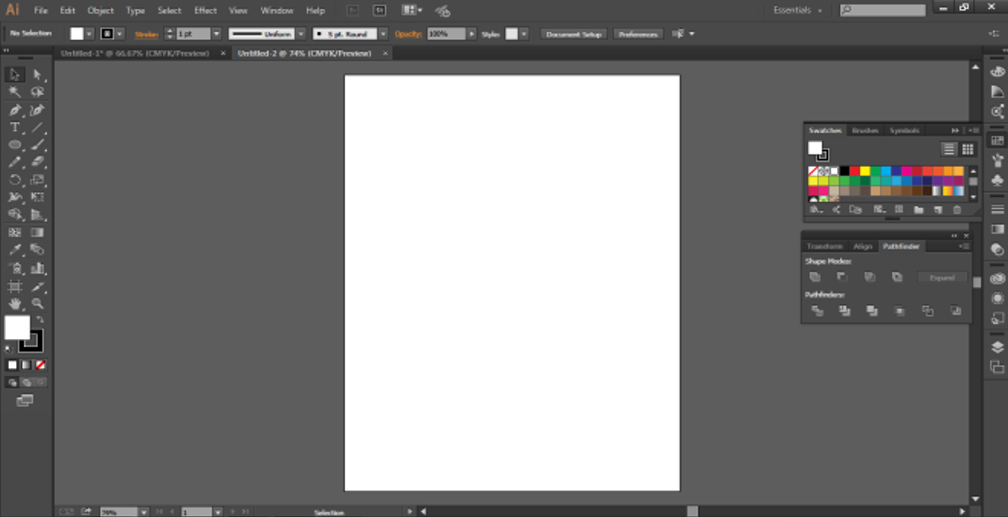
Step #1: Create a new file of A4 size in the program.
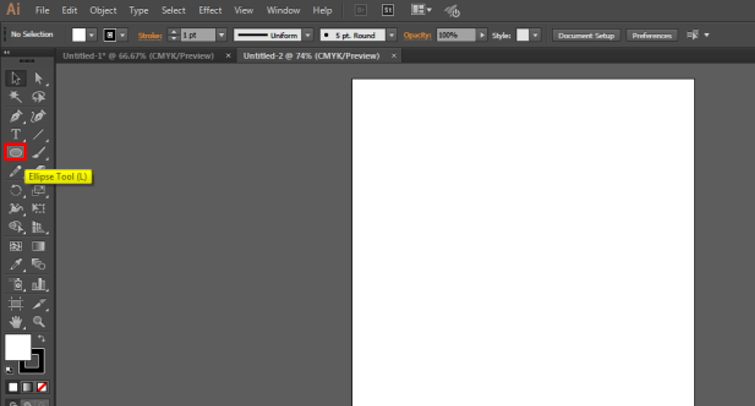
Step #2: By using the Ellipse tool, create an Ellipse on the page.
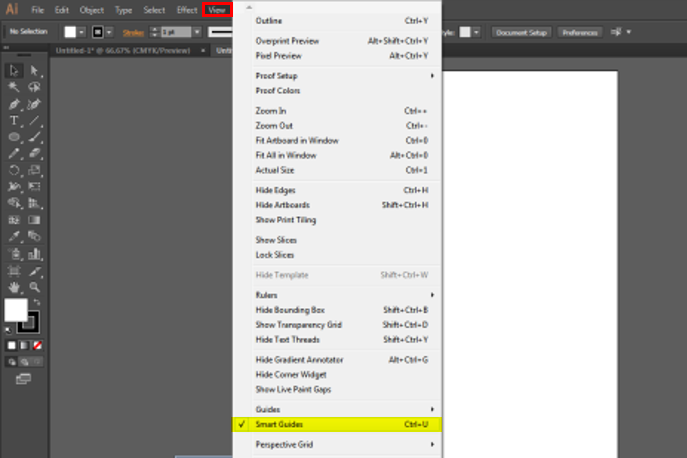
Step #3: Make sure the Smart Guides are Switched on. The option is available under VIEW.
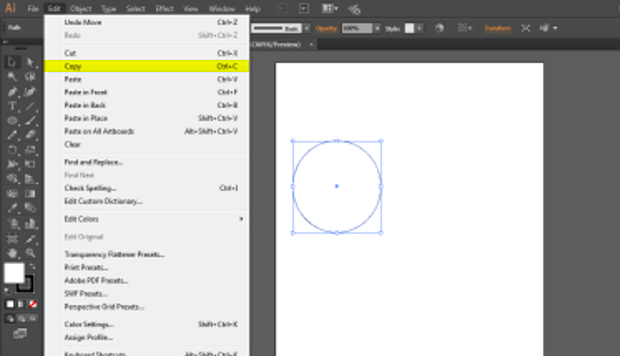
Step #4: Copy the Circle as shown in the image below
Step #5: Paste the Circle as shown in the image below. This needs to be done very patiently and neatly.
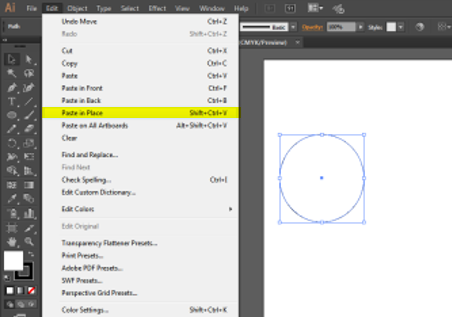
Step #6: Next, place the 2nd circle just as shown in the image.
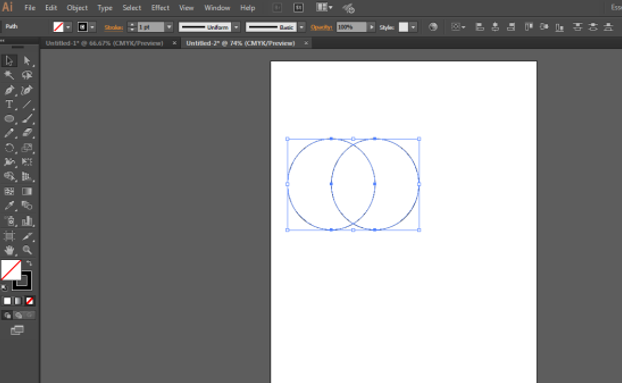
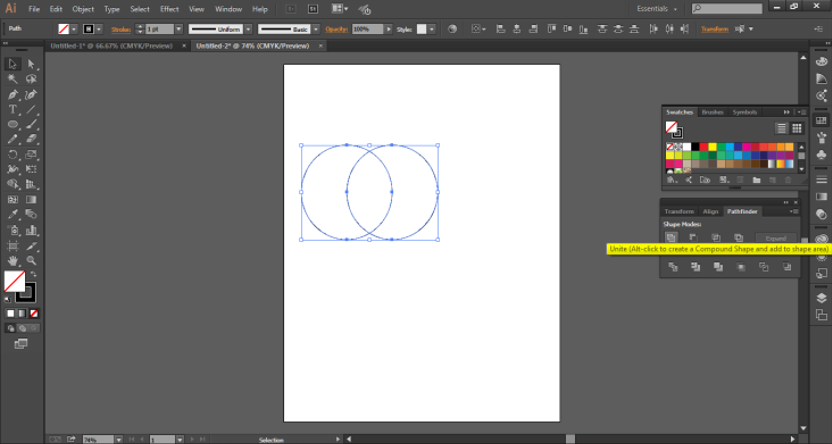
Step #7: Select both circles and go to the pathfinder panel. The pathfinder toolbox is available on the Windows Panel. The pathfinder tools allow merging multiple objects using some special modes and options. We can even edit the new combination created using the Pathfinder tools. The Pathfinder tools include options such as Union, Intersect, Subtract, Minus Back, Divide, Trim, Merge, Crop, Outline, Hard Mix, Soft Mix, and Trap. Each of the tools performs different functions that help the user create various objects and designs in a simpler way. Click UNITE button that is the first button on the pathfinder panel.
Step #8: With the help of the Direct Selection Tool, make a shape by editing the shape’s anchor points. The Direct Selection Tool is also a very useful tool in Illustrator that helps the user to redesign or modify any shape or object. It works on the anchor points of the shape that can be edited using this tool.
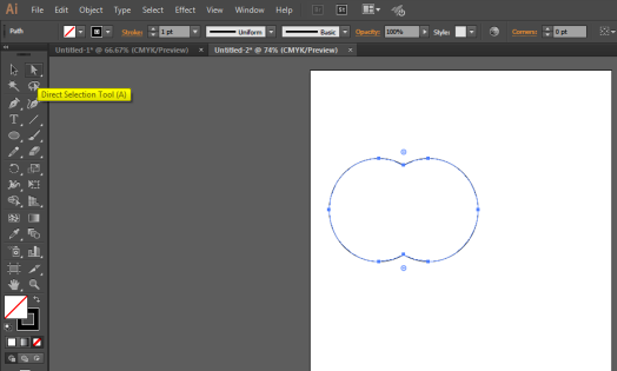
Step #9: The final shape would look like, as shown in the image below.
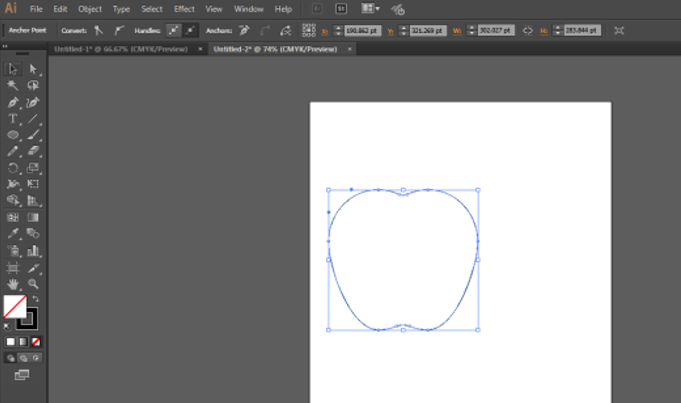
Step #10: Next, create another Ellipse on the same page as shown in the image.
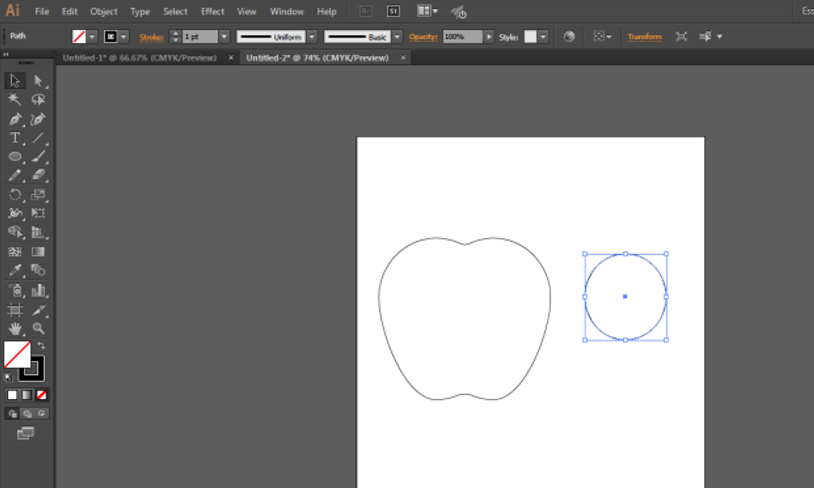
Step #11: Drag and place the circle on the right corner of the already created Apple.
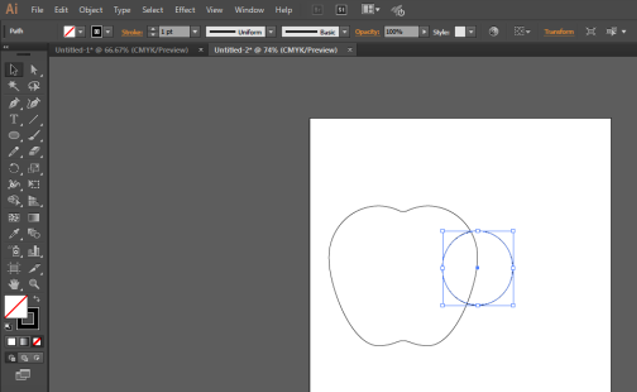
Step #12: Select both the shapes, i.e. the circle and the Apple. Now, use the pathfinder panel again, and click on the MINUS option this time. The result is shown in the image below.
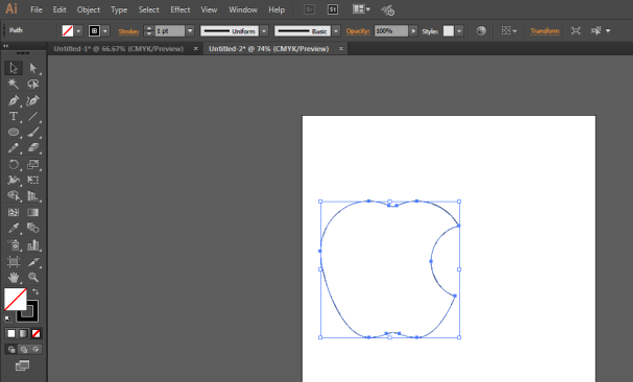
Step #13: Next, create another Circle on the same page.
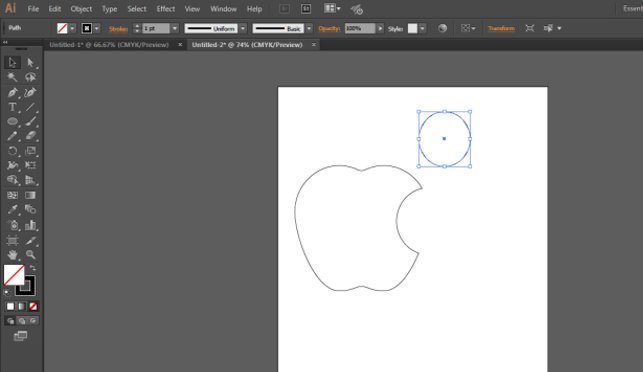
Step #14: Select the circle and create a duplicate of this circle and place the second circle as shown in the image.
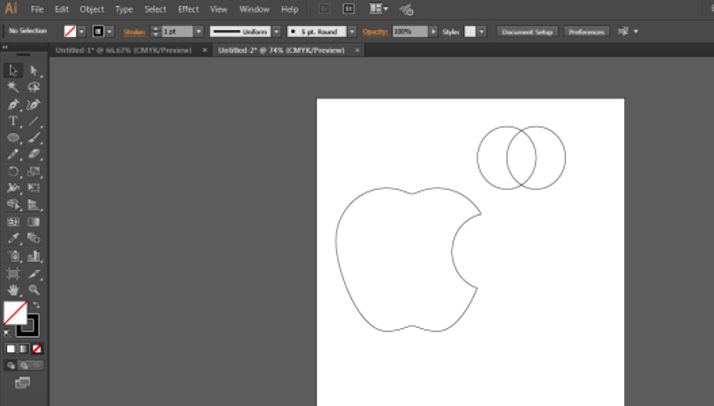
Step #15: Select both circles and again use the pathfinder panel and click on intersect option this time. The final result is as shown in the image below.
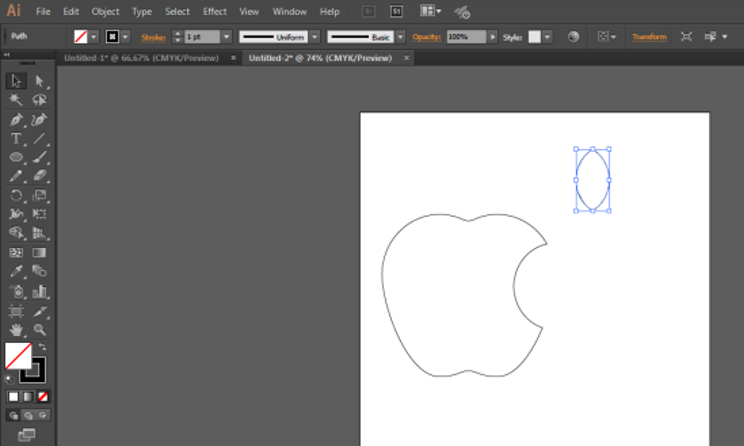
Step #16: Next, resize and rotate the leaf and place it as shown in the image below.
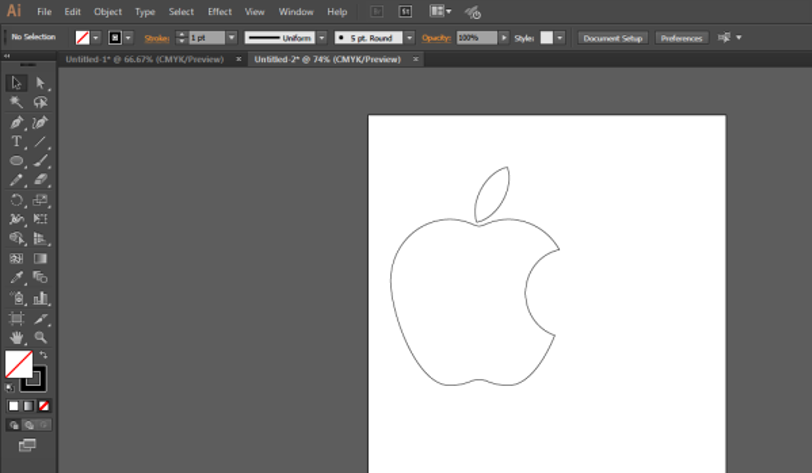
Step #17: Use the black color and while both the shapes are selected, click on the black color from the color toolbox.
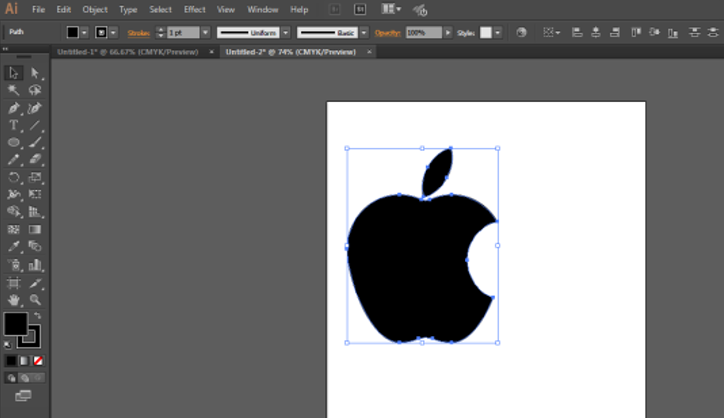
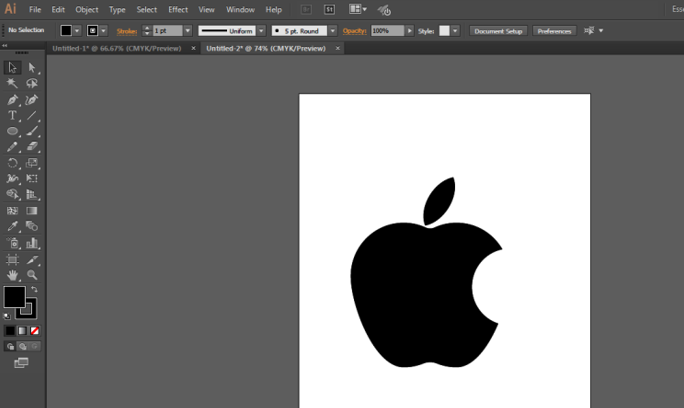
Step #18: The final result is as shown in the image below.

0 Comments